Our groups studio shoot did get pushed back by a few weeks – which meant that we were not able to get familiar with everything in the studio until later on – including all of the lighting and equipment that comes with it. Our original date to be in the studio was supposed to be during our week 6 Photography workshop – however, this workshop was cancelled due to the weather, so no one was even able to make it to the workshop. In the week 7 workshop, we all made and went into the studio – however, instead of being able to use everything ourselves and get to know all of the equipment, our tutor just introduced us all to the equipment and explained everything in the studio – which meant that we were unable to try it out ourselves as we ran out of time. Nonetheless, by week 8, we were able to go back into the studio and this time, we were able to practice taking photographs and set up the lighting ourselves for the whole two hours – meaning, we were able to try things out and become more familiar with all of the equipment in the studio. During this session, I worked in a group with Cassie, Olivia and one of the photography technicians – Sian. Working in a group this size was beneficial because it meant that we could all work together to sort the lighting out, but also we were able to have our own opinions and decide on what could possibly be done to improve some of the photographs. I did find this studio shoot very beneficial and I think it will be helpful to me when to comes to constructing my own portraiture photographs. Below, you will be able to see some of the photographs I have taken today and as usual, there are some good photographs and some bad photographs – which again enabled me to improve and understand what I may have been doing wrong.
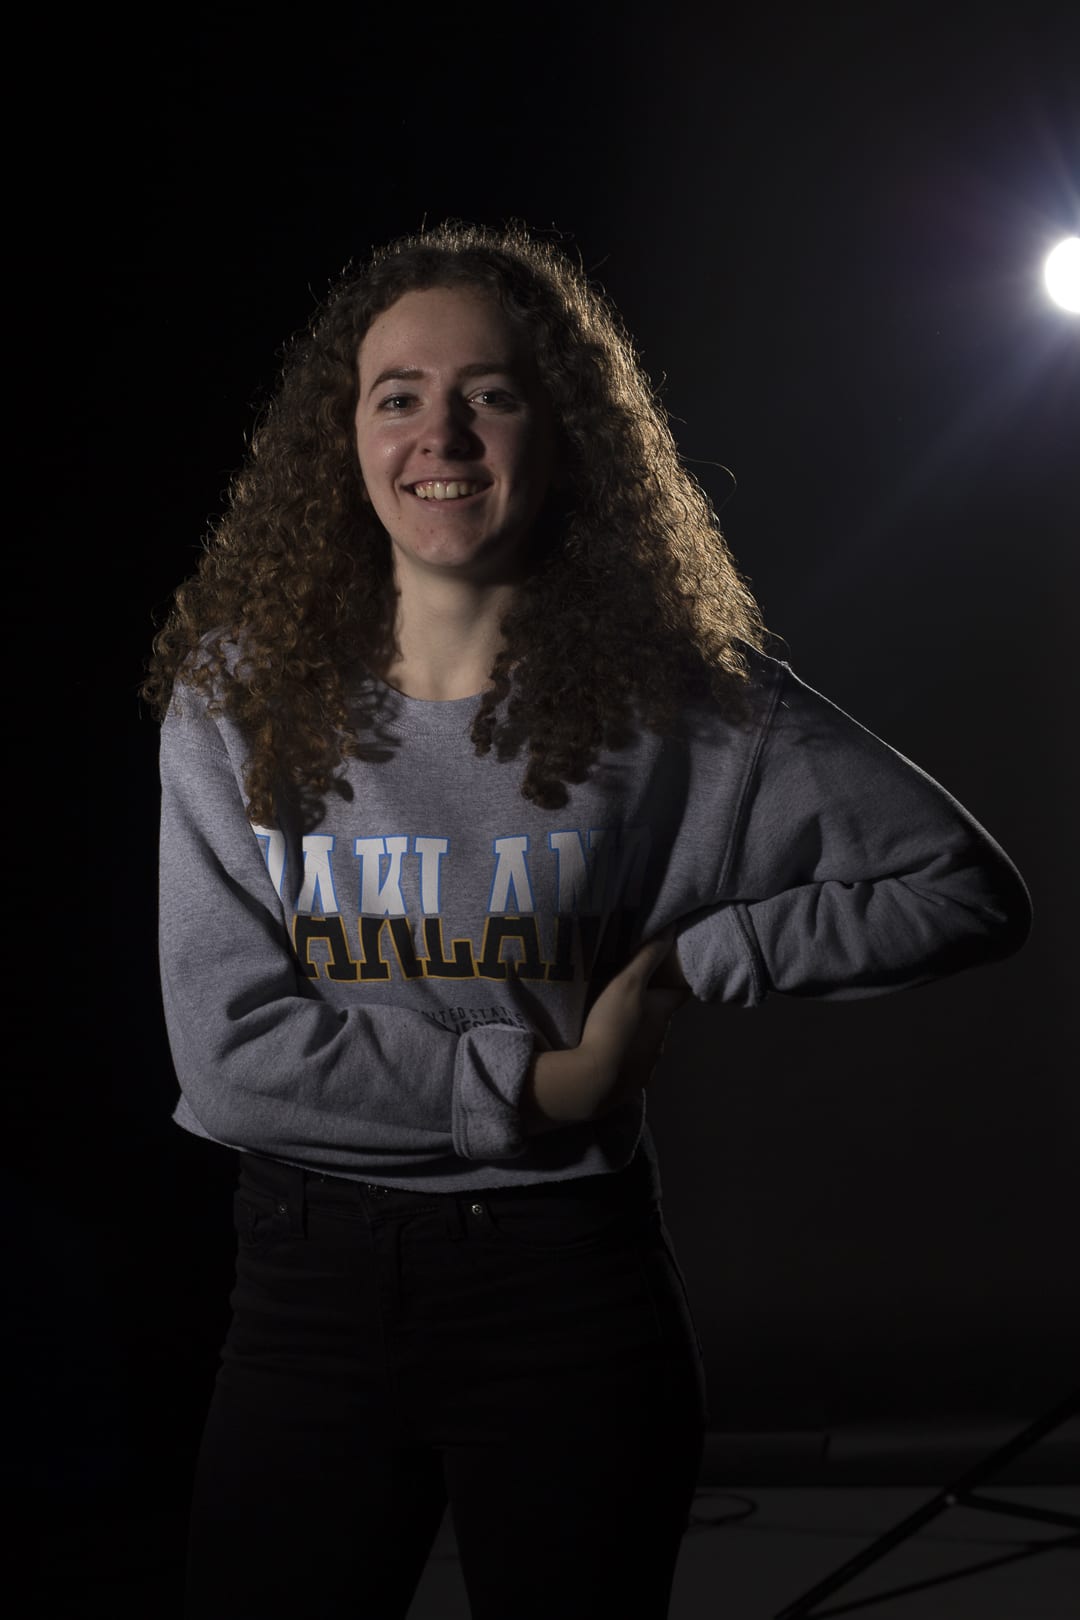
Here are some of the photographs I took that I believe turned out well:
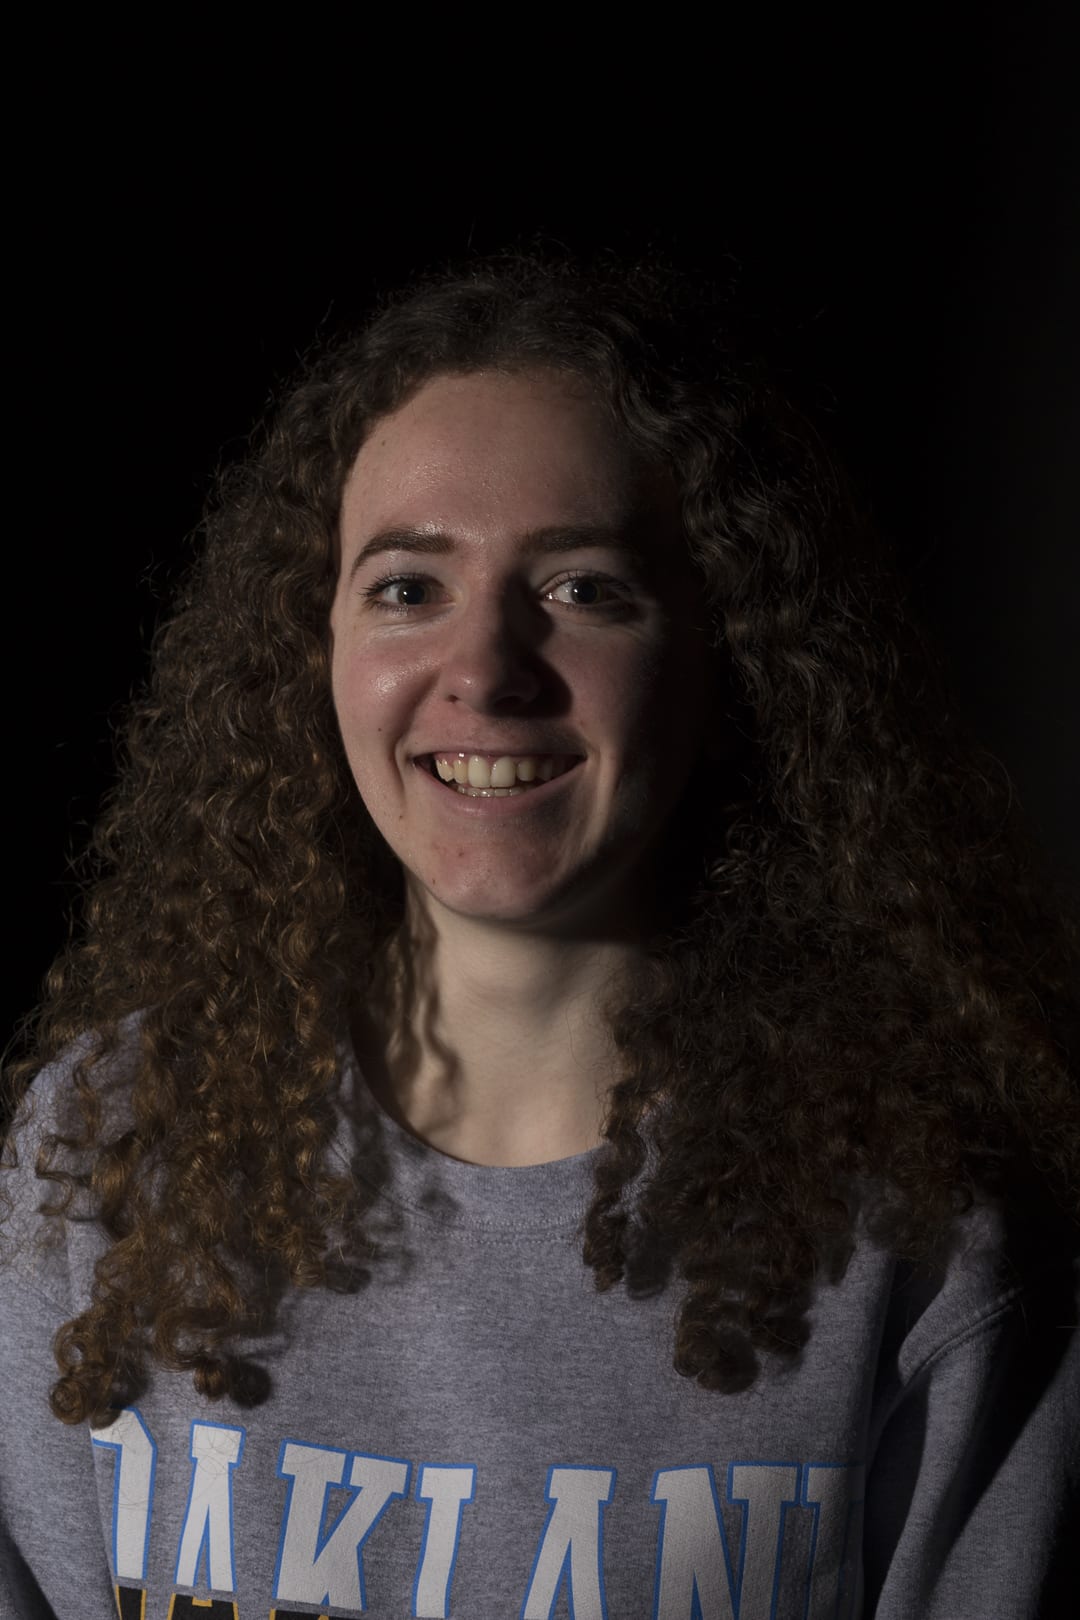
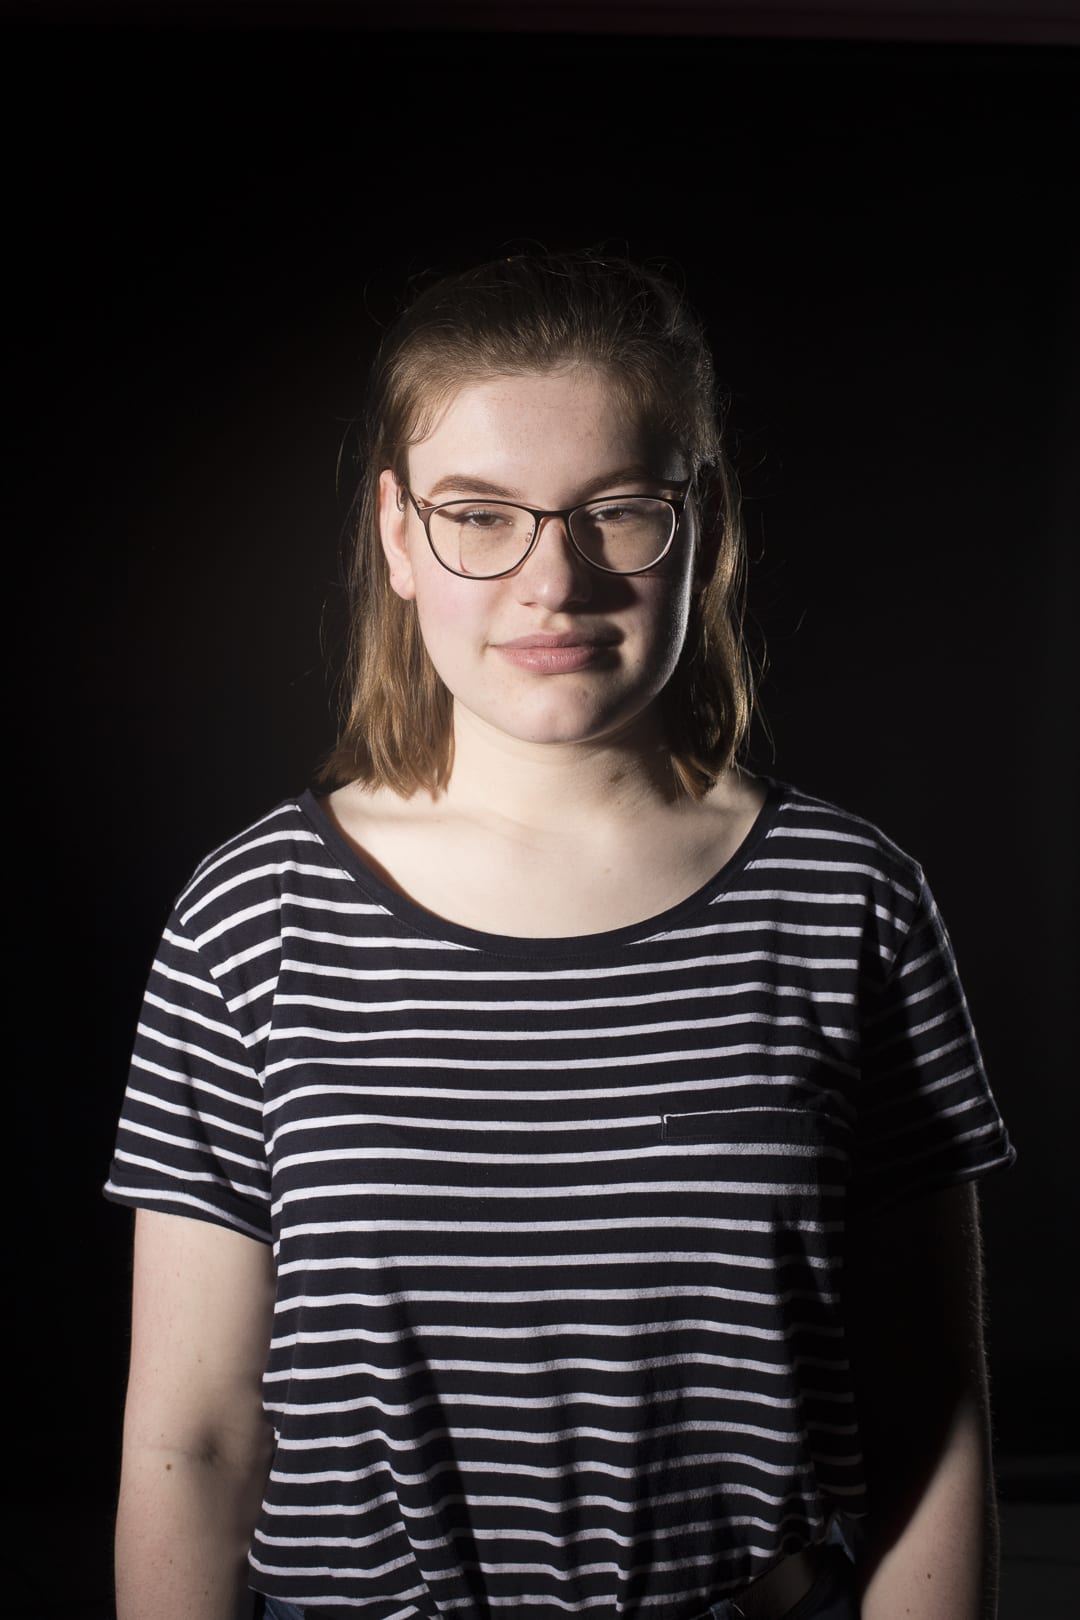
From looking at these images, you are again able to see that they are not perfect, but I believe that they are some of the better photographs I had taken during this shoot. You are clearly able to see that the first two photographs were taken on a different backdrop from the last photograph and I believe that by changing backdrops it was useful as I was able to become more familiar with the lighting and how it would need to be changed because of the colour that is being used in the backdrop and how I would like the lighting to appear on the subject. I like the dark backdrop that has been used in the first two photographs as part of the subjects face is light, while the other half is quite light. During this shoot, I also tried to attempt the concept of Rembrandt lighting – which we were told about by our tutor in our week 7 workshop. I think this lighting technique is more apparent in the second photograph rather than the first as there is a softer light on the subject – which makes the harsh lighting easier to see. I like the last photograph I took with the blue backdrop as I feel like the subject stands out and looks quite ambitious – which I believe also corresponds with the blue backdrop that has been used. Overall, I am happy with these images that I have come out with and I am more confident with the studio and equipment inside of it and I believe that with more practice, I will get better with portraiture photographs and how they should be portrayed towards an audience.
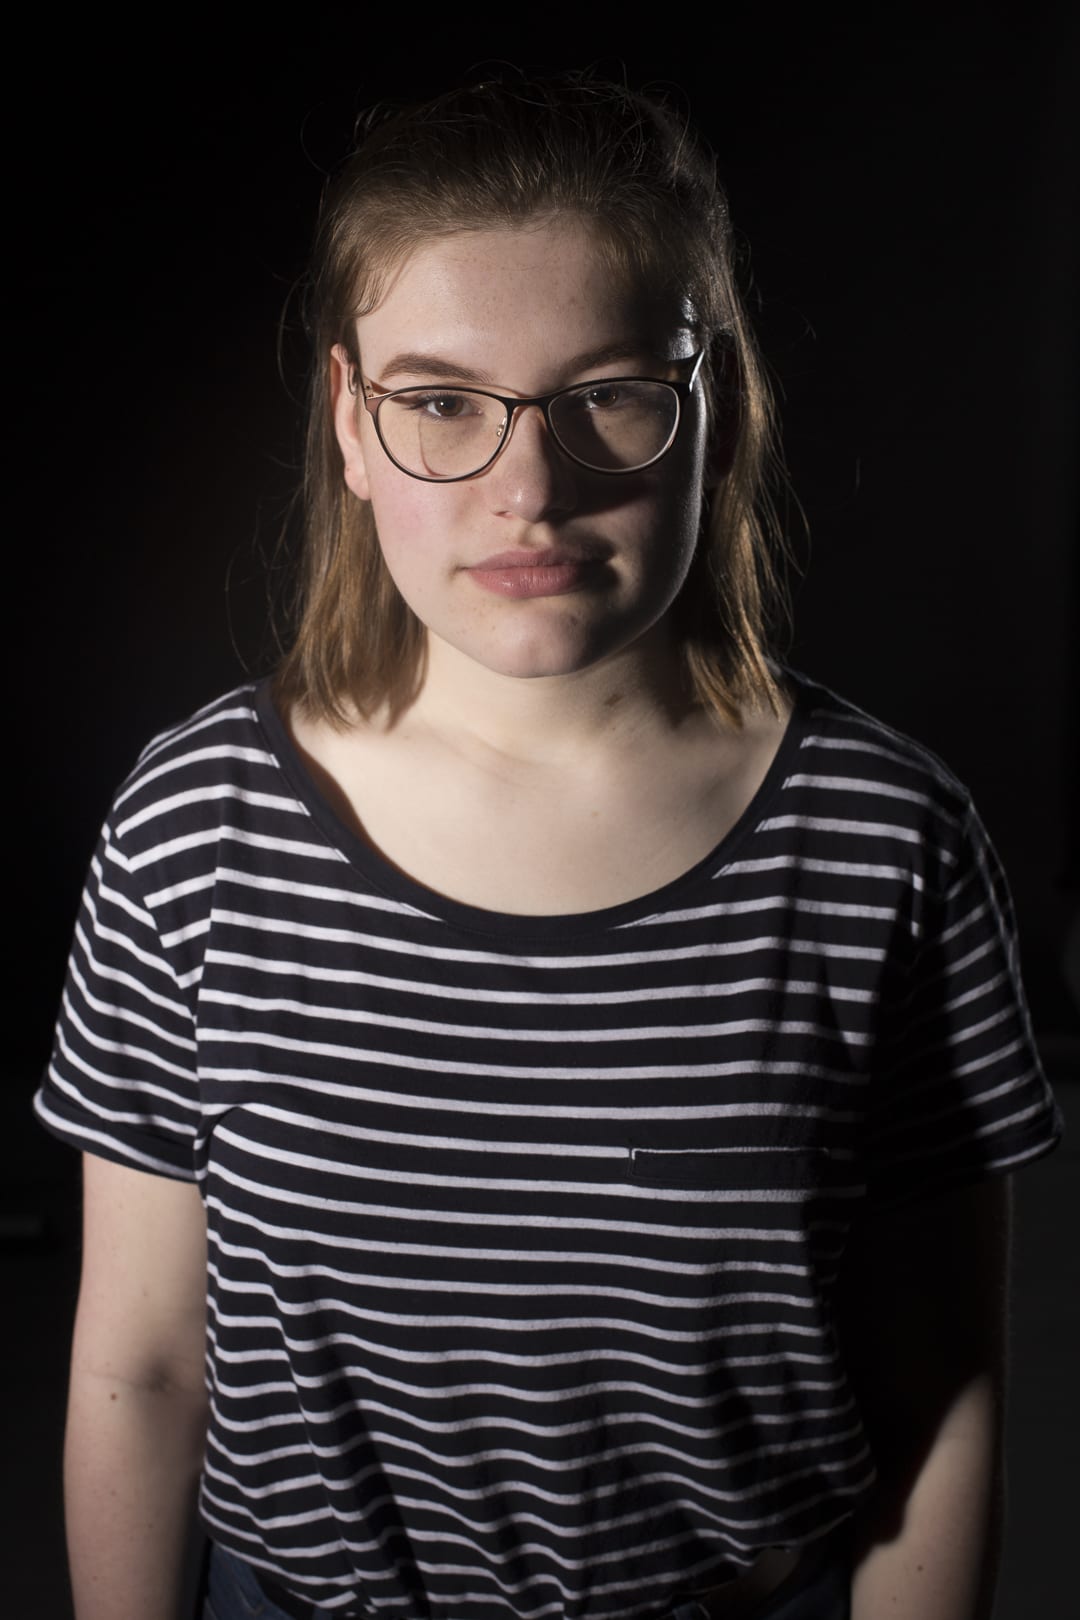
Here are some of the photographs I took that I do not think turned out as well as others:

I don’t like these photographs for multiple reasons and I think by looking at these images you will be able to see why. Most of these images were taken when I first started taking photographs during this workshop – which makes sense due to the fact that I was still getting used to all of the equipment in the studio and how it all worked. Moreover, you are able to see that both the first and last photographs are too bright, but the brightness is wrong for different reasons. In the first photograph, there is too much light coming from the back of the subject – which makes her look as if she has an outline around her body. In the last photo, there is too much light coming from in front of the subject – which makes her look too bright overall. The middle photograph does have good lighting – however, the light can be seen in the background, but also you are able to see the ground in the image – which means the composition in this photograph has not been though about thoroughly. Also, in the first photograph, the subject looks wonky within in the frame – which looks unappealing and unprofessional. Overall, I believe that it was good that I came out with some bad images as it enables me to see what I have done wrong and how I would be able to improve these issues for next time.
Leave a comment